Table of Contents
Introduction - The Basics
All tutorials you find here require that you can log in with an account. Once you are logged in, you can switch between the regular website view, as it is presented to visitors, and the “backend” where edits can be made at any time.
You should have received an invitation with account details to log in. If you do not have account details, please contact your lead website contact at your demonstrator. If you are the lead contact, please contact Lars via Slack.
Go to this link and fill the log in form with your account details. You can also simply append /wp-admin to the standard AURORA URL.
We highly recommend that you bookmark this link for easy access to the login area.
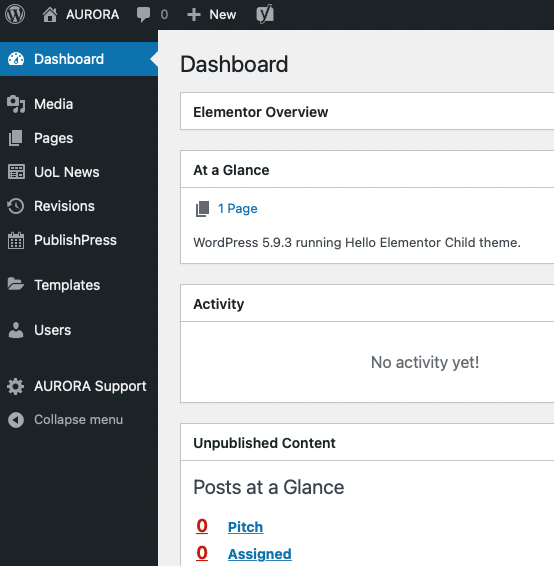
The "backend" is where you can edit content and the "frontend" is what is shown to visitors. As a logged in user you can switch between both at any time using the menu bar at the very top. Simply click on "AURORA" at the very top of the screen (see screenshot).
If you do not see the menu bar, you are most likely not logged in.
The navigation sidebar will appear on the left side of your screen when logged in. This will help you to go where you need to, such as for editing news or pages.
No, seriously. Feel free to explore on your own. We have configured everything so you cannot (easily) break anything, and if you do, please contact Lars on Slack, or report an issue in the issue tracker.
Adding News
You can add as many news as you want to you demonstrator website. These will show up under “News” in chronological order as short summaries, which can be clicked to reveal the full news piece.
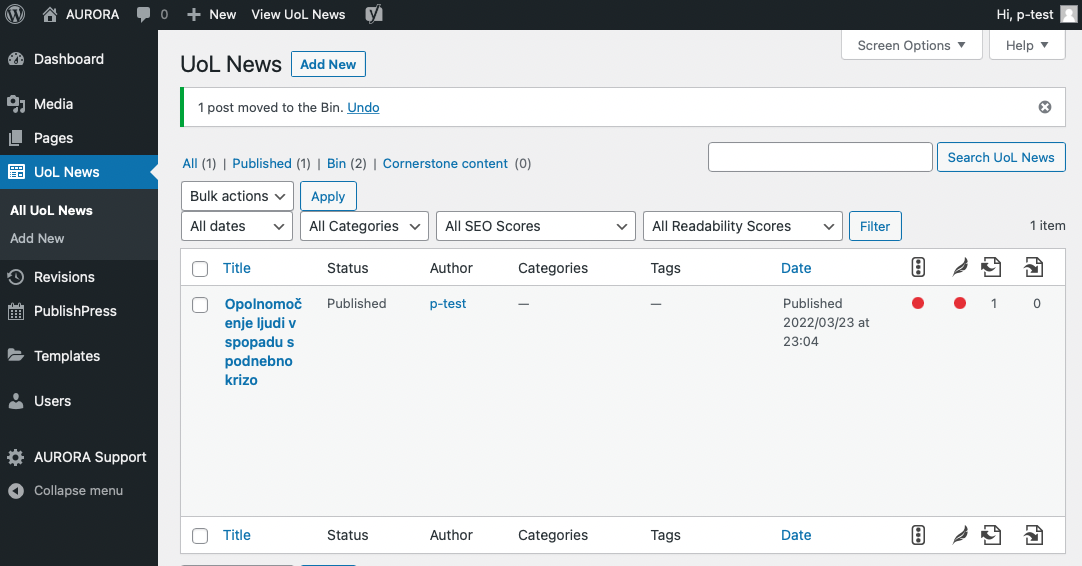
You can find this in the left sidebar. The exact label will depend on your demonstrator. For example, University of Ljubljana is "UoL News".
You can find this either in the sidebar or at the top of the page next to the "News" label.
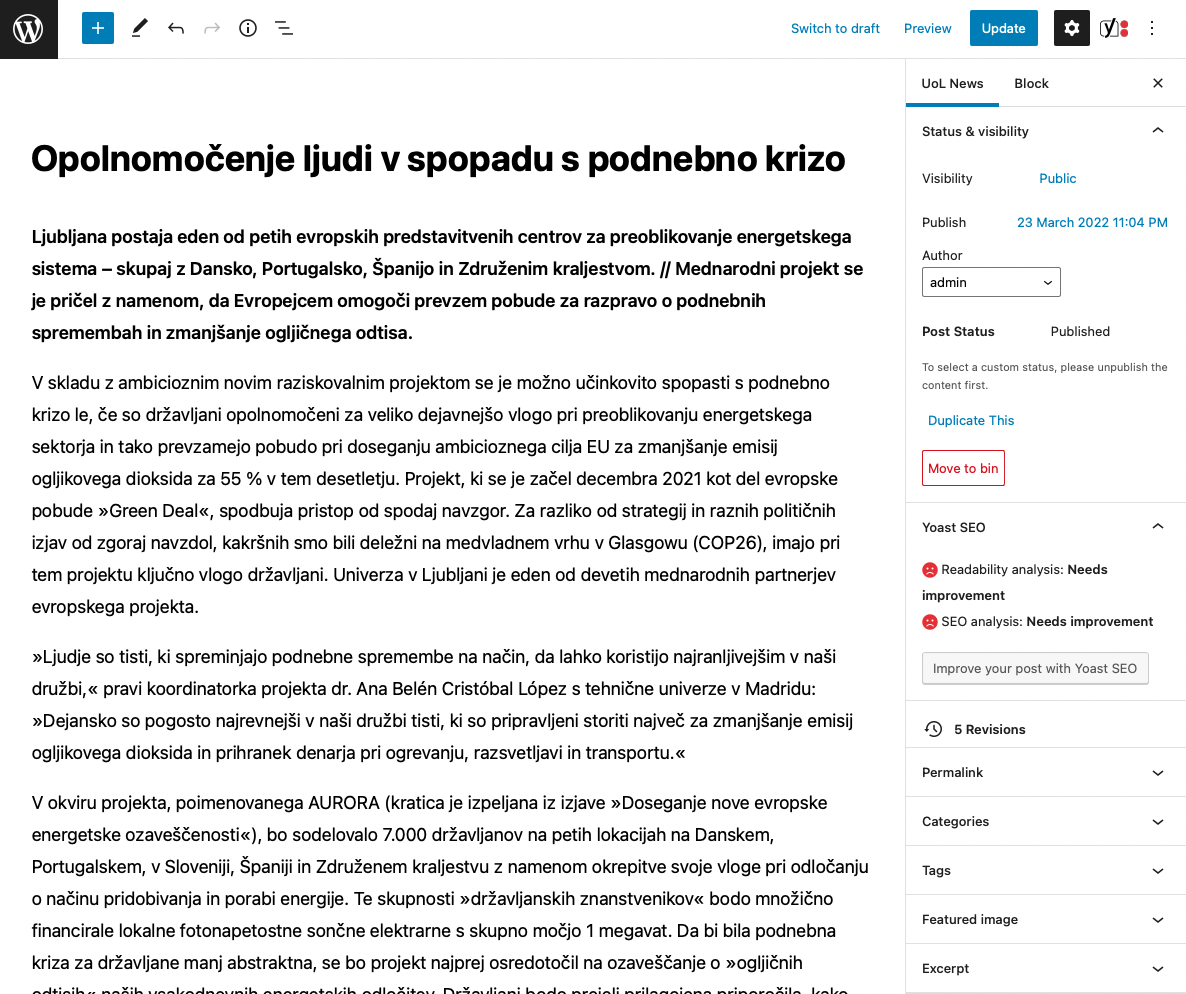
You will be taken to a new screen where you can edit the title and content of your news. The editor functions similarly to any text editing program and segments of content are called "Blocks", such as paragraphs or images. To add a new Block, click on the blue "+" symbol in the top left. You can move blocks around via drag and drop. For a detailed guide on all features of this editor you can check this guide.
You can add a featured image to your news. This image will show at the very top, or as a preview image on the news overview page. To do so, simply click on "Featured image" on the right side of the editor. From here you can select an image from the library or upload a new one (see "Media Uploads").
We highly recommend adding some visual material to your news in this way. You can also place additional images in your news in the editor (see "Edit your news" above).
Once you are happy with how your news looks, you can publish it or submit it for review. This depends on your account permission level (see "Account Permissions and Review").
Editing Pages
Pages are static content of your demonstrator’s web presence, such as the landing page. The editor for these pages is a bit different than the one used for news, as pages typically require more advanced features and layouts. The editor used here is called “Elementor” and very well documented on the Elementor website and through a short introductory video.
Currently it is not possible for users to add new pages. If you want to add a page, please contact Lars directly via Slack with details on where in the website navigation the page should be displayed, what the title of the page should be, and what URL extension it should have (aurora-h2020.eu/Your-Page-Title).
Hint: Pages can also be nested in the navigation, so be creative with placement.
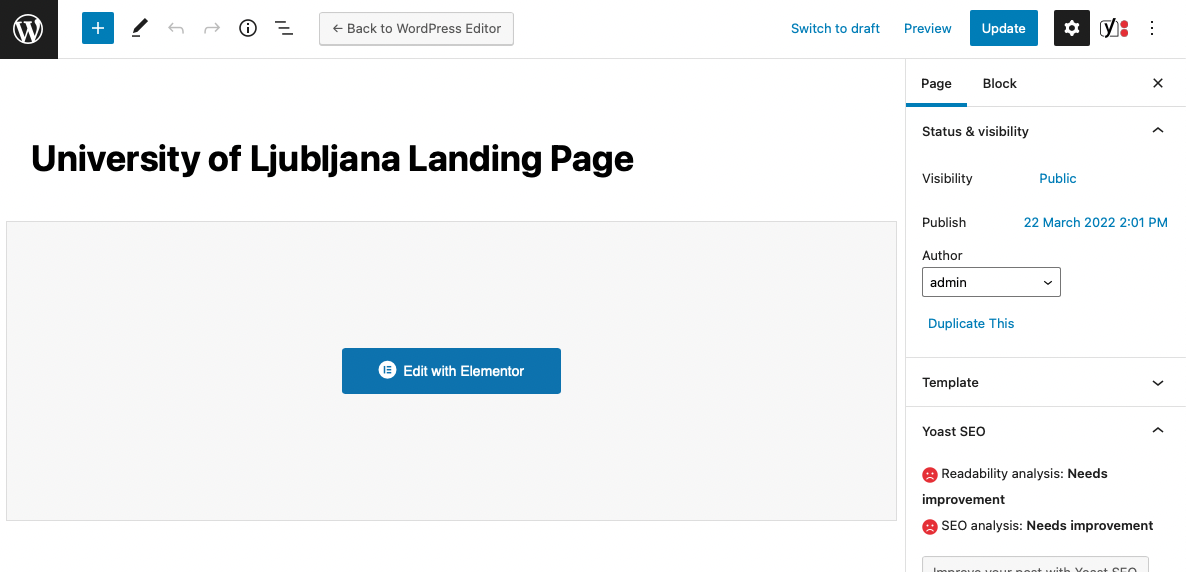
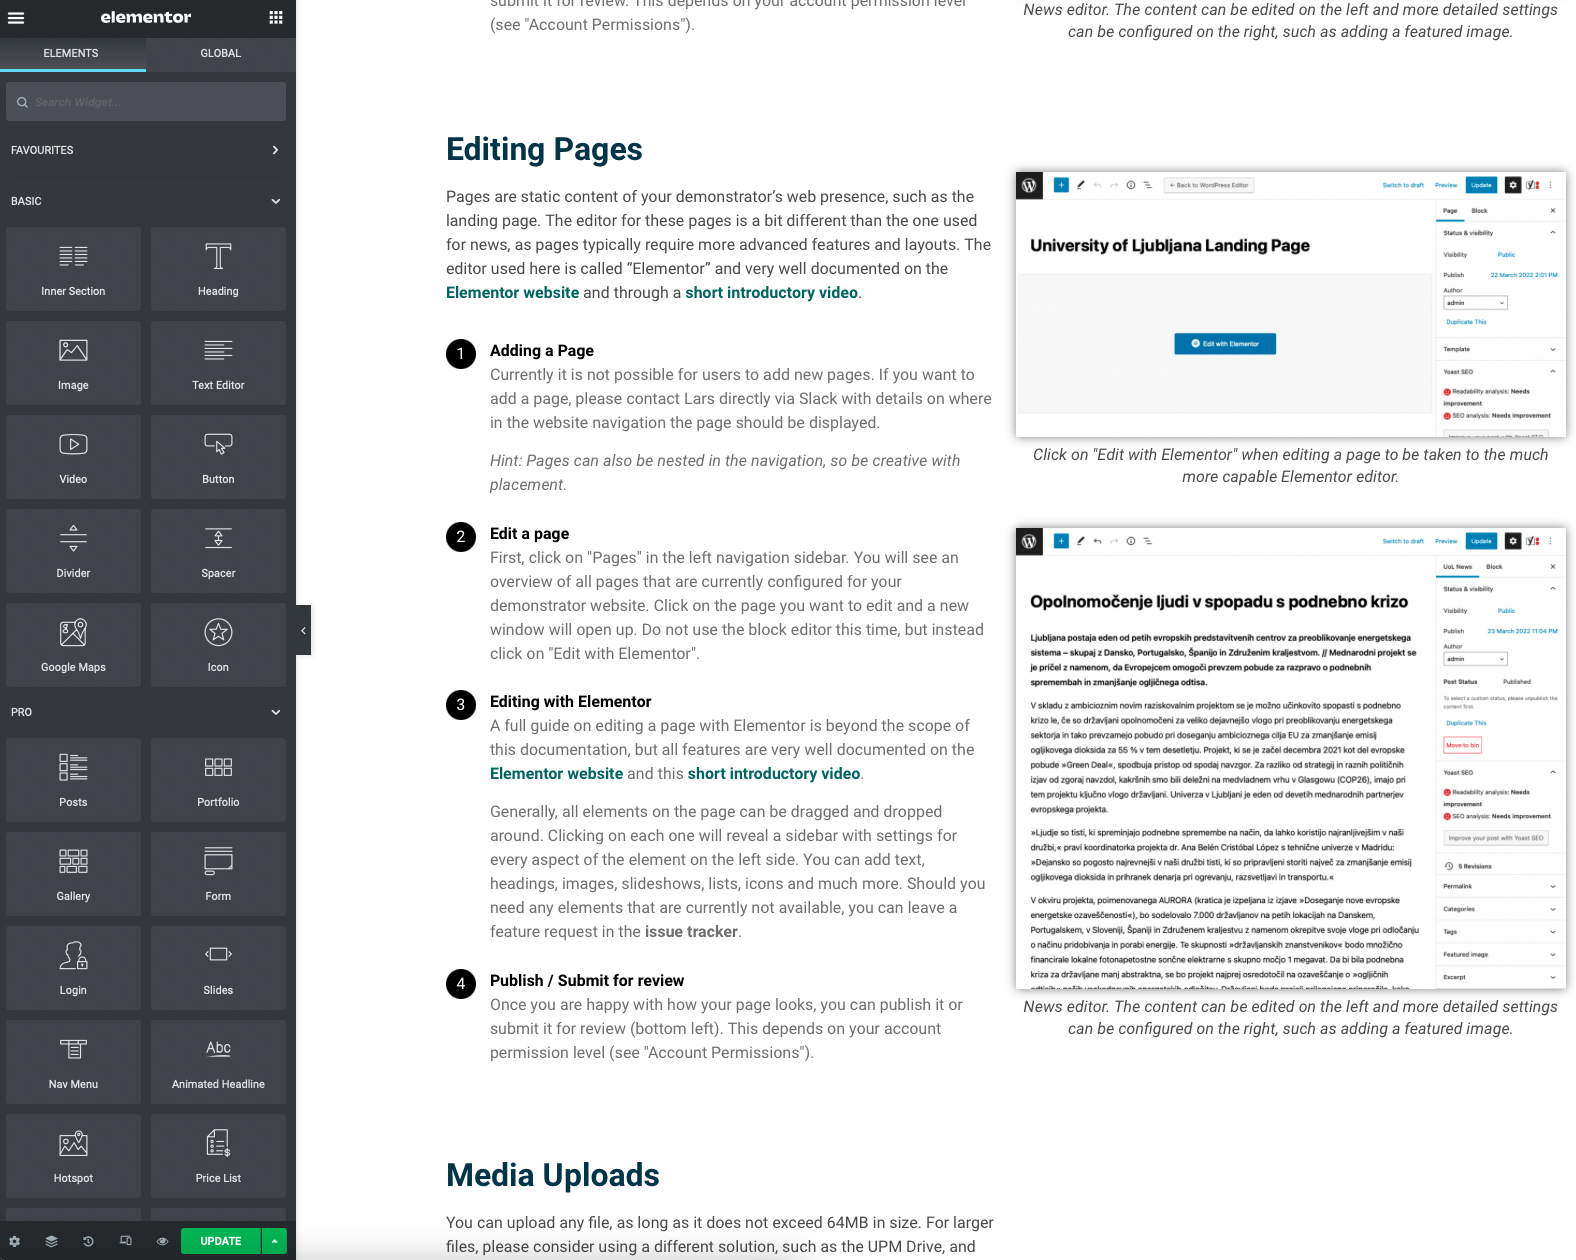
First, click on "Pages" in the left navigation sidebar. You will see an overview of all pages that are currently configured for your demonstrator website. Click on the page you want to edit and a new window will open up. Do not use the block editor this time, but instead click on "Edit with Elementor".
A full guide on editing a page with Elementor is beyond the scope of this documentation, but all features are very well documented on the Elementor website and this short introductory video.
Generally, all elements on the page can be dragged and dropped around. Clicking on each one will reveal a sidebar with settings for every aspect of the element on the left side. You can add text, headings, images, slideshows, lists, icons and much more. Should you need any elements that are currently not available, you can leave a feature request in the issue tracker.
Once you are happy with how your page looks, you can publish it or submit it for review (bottom left). This depends on your account permission level (see "Account Permissions and Review").
Media Uploads
You can upload any file, as long as it does not exceed 64MB in size. For larger files, please consider using a different solution, such as the UPM Drive, and linking to it.
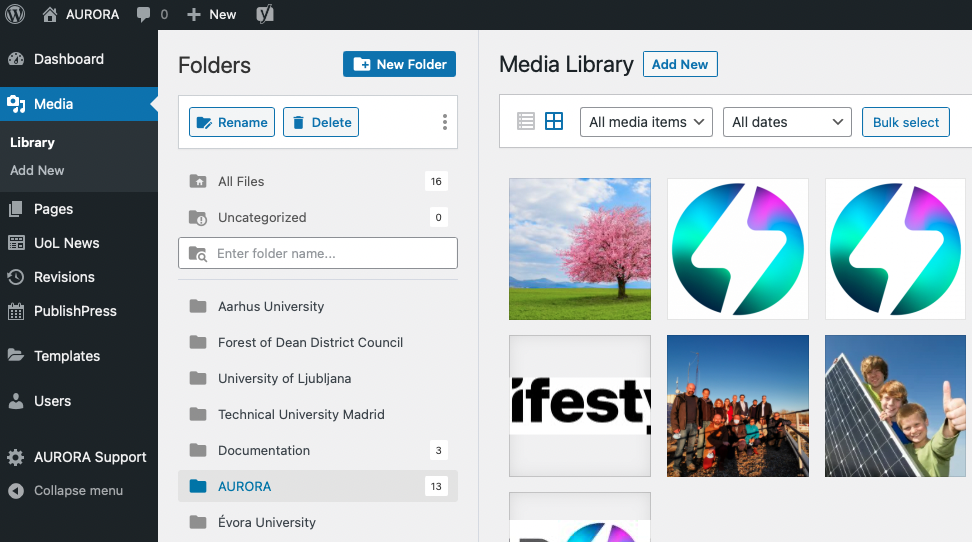
You can find this in the left sidebar. The Media Library will open with all media currently available.
To upload new media click on "Add New". This can also be done from any content you are currently editing, so you do not have to visit the media library every time.
Before uploading content, please check the file you are uploading has not already been uploaded by someone else.
Media is shared across all 5 demonstrators and the main AURORA website. To keep it organised, there are folders for each. Please keep media organised by putting it in your demonstrators folder. You can do so by selecting (multiple) files and dragging the over to the folder.
Hint: You can also create new folders within your demonstrator's folder for even better organisation!
Account Permissions and Review
To manage the capabilities of different users, two permission levels are in place: “Lead” and “Support”. Users with the Support role cannot publish any new content or make changes without a user of the Lead role approving their edits first.
Users with the Support role cannot publish any news they add, and cannot edit pages or already published news.
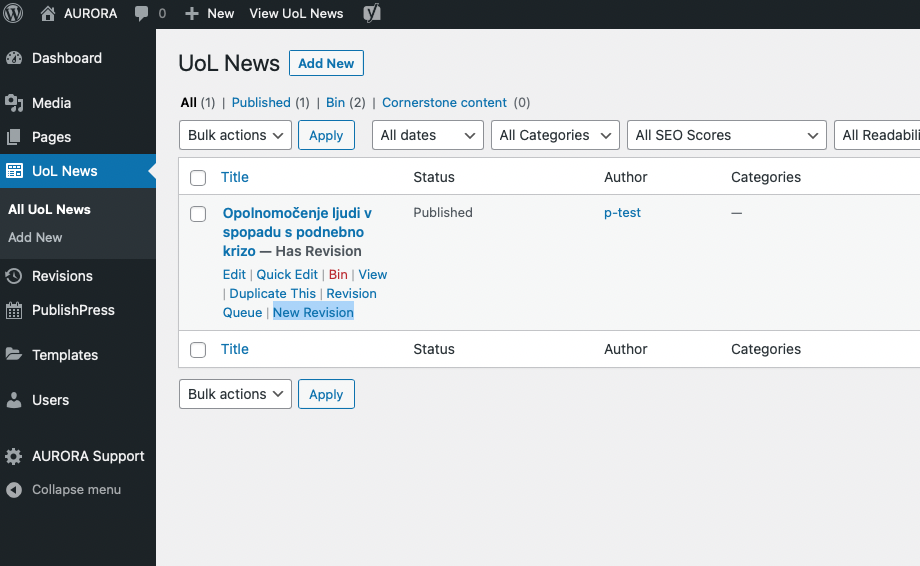
If a Support level user tries to publish News, the article will be sent to users of the Lead role for approval. Only those users can publish content.
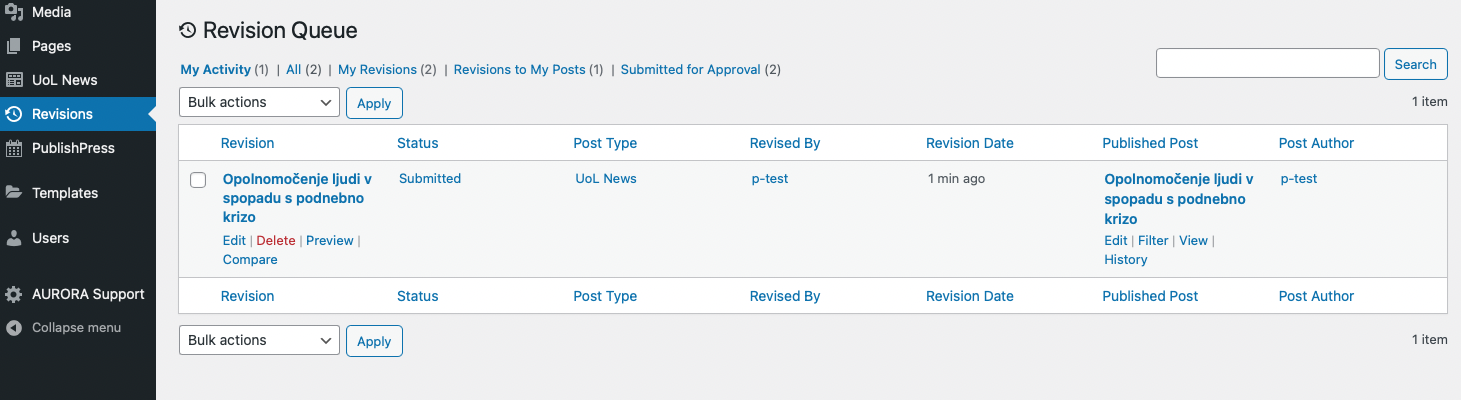
To help keep an overview, all users can find a "Revisions" tab in their navigation sidebar. This will hold any pending revisions that Support level users have suggested on existing content.
Hint: This section does NOT show completely new News that are pending review, only edits to existing content.
Lead users do not have to pass a review process, but can instead just publish any content and any change. This also means, that as a Lead user you should be very considerate about what you are publishing. It might be worth it to have a colleague check your work regardless by clicking on the "New Revision" button before editing content. You can then safely approve your own revision later from the "Revisions" menu.
Managing Users
Of course you will need support to manage all the content on your demonstrator’s website. You can invite new users to help you out at any time.
We highly discourage sharing your personal account details.
You can find this in the left sidebar. An overview of all users that currently have access to your demonstrator's backend will show.
Hint: You can also edit your own details from here!
You can find this either in the sidebar or at the top of the page next to the "Users" label.
You will have to fill in a few details for the new user, such as Username (the name they use to log in) and Email. We also strongly recommend setting a first and last name for each user so you can more easily identify them.
Hint: If you leave "Send User Notification" checked, you can ignore the Password that is already set here, as users will be invited via email to configure their own password.
This one is really important. You have to select an appropriate role for the new user. Currently "Support" and "Lead" roles are available. You can find more details in the "Account Permissions and Review" section, but generally know that users with the "Support" role cannot publish or edit any content without approval of a user with the "Lead" role.
After you have checked all details, click on Add New User and they will be emailed further instructions for setting up their account.
Hint: We recommend deleting users who are no longer working with you.
For initial onboarding, we highly recommend sharing this documentation with new users and regularly checking in with them to see if they need any help.

Translating Content
You can translate content into your local language directly on the website. This will allow users to switch the language with a dropdown menu on the top right of the page.
Note: Currently only Spanish is activated. Should you require translation capabilities for your local site, please contact l.lorenz@inscico.eu.
You can visit the page either from the front or back end. Note that the demo video shows how to translate from the front end only.
This will load up a new editor window for translation.
To the left you will find a dropdown with available languages to translate into.
Note that only your local language is currently supported for your local demonstrator webpage. This means while e.g. for the Portuguese demonstrator content can be translated into Danish, there is no way for users to switch to the Danish language while viewing the University of Évora webpage.
Click on the pencil icon that appears when hovering over any paragraph on the page.
You can also select items in the navigation or footer to translate all content on the page. Translations appearing on multiple pages (like the funding notice) will only have to be translated once.
A new section will appear on the left with a field to enter the translated content.
Don't forget to click on "Save translation" after you are down.
You can now switch the language of your webpage with the dropdown menu on the top right when viewing the page as a visitor.
View this video on how to translate any content on your webpage. Hint: Double click for fullscreen.
Having trouble? Download the video here: Translate Page Recording
Frequently Asked Questions - FAQ
This section will be expanded based on common questions and requests.
Edit the page with Elementor and click on the cogwheel in the bottom left corner. Then turn “Hide Title” on.
For AURORA we are using a single newsletter subscription form across all demo sites. Users can select upon signup (and in their newsletter preferences, powered by MailChimp) which parts of the project they want to receive regular updates about.
You can add a link to this newsletter popup anywhere on the website, by simply creating a link or button and setting #newsletter-popup as the link/URL.
The difference between a new line and a new paragraph is spacing between lines. A new line starts directly under the previous line, while a paragraph introduces some vertical space. To add a new line instead of a paragraph, simply hold the “Shift” button while hitting “Enter”.
You can add your ambassadors by clicking on the “Ambassadors” option in the backend sidebar. From here you can see a full list of all ambassadors and add yours like any other page or post. You will see a range of fields you can fill in with details about each ambassador. Please also select your corresponding demo site when adding ambassadors.
Additional Support
If you require additional support or your question is not answered here, please do not hesitate to contact Lars on Slack.
For any issues or feature requests you have, please use the issue tracker.
